How Fast Travel Works in Castlevania: Belmont's Curse
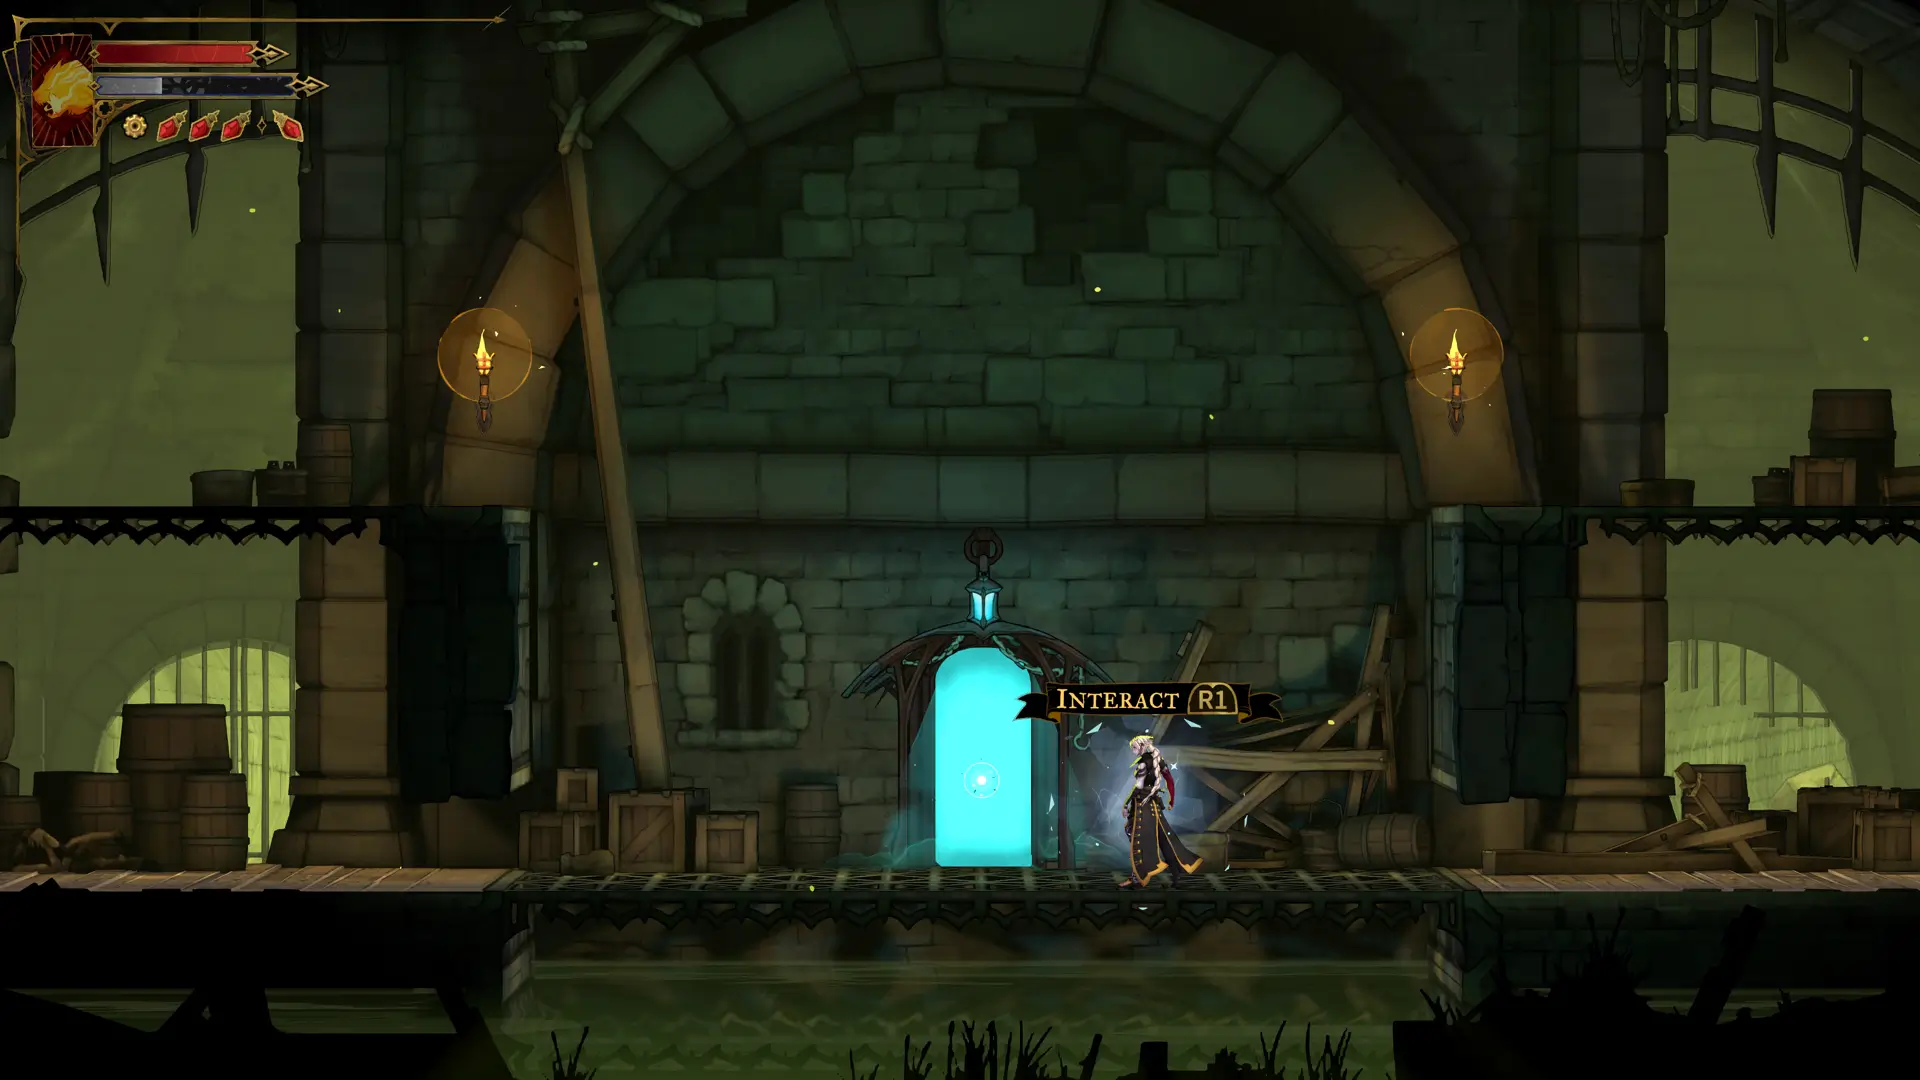
Castlevania Belmont’s Curse has a Ferryman’s Wharf in six regions, and each one is a dock where the Ferryman takes Rose by boat between the big areas of Paris and Dracula’s Castle. None of them work until Act One ends with a scripted loss to Death, and the first dock waits as you climb out through the Castlevania Belmont’s Curse Catacombs of Paris map of the Path of Orpheus.
Alexandru Popescu tracked down each dock for Map Master, and the Castlevania Belmont’s Curse full map links every region they connect. Ferryman’s Wharfs move you from one region to another, while Mirrors of Life handle shorter hops. Learning both cuts most of the backtracking out of a long game.
How Ferryman’s Wharf Fast Travel Works in Castlevania Belmont’s Curse
Talk to the Ferryman at any dock to see every wharf you’ve discovered, then pick one and Rose arrives at that region’s dock. A dock only joins the list once you’ve reached it on foot. Until then, a region has nowhere for him to land, even if you’ve explored part of it.
Wharfs cover the long trips, and the Hall of Mirrors covers the rest. Crouch in front of an active Mirror of Life and wait until the screen changes to reach a hub in the castle that links every mirror you’ve touched. Planning around the Mirrors of Life that link to the Hall of Mirrors saves a lot of walking inside a single region.
How to Unlock the Ferryman in Castlevania Belmont’s Curse
The Ferryman joins through the story, with no side quest attached. Act One closes with a fight against Death that you’re meant to lose, the fourth of the Castlevania Belmont’s Curse boss fights in order. You’ll meet him on the way out of the Catacombs, at the first dock in his network.
From there, the Ferryman’s network grows with your map. Every new region you reach has its own dock to find, and two are hidden well enough to miss on a first pass. If he doesn’t appear at the Catacombs dock, check that the Death fight has played out, since he only turns up after it.
Ferryman’s Wharf Locations in Paris, the Cemetery, and the Catacombs
In the Catacombs, look for the stairs at the top right of the Collapsed Path of Orpheus, the route you take out after Death. It’s the first dock you’ll find, and it becomes your quickest way back underground for any Clues or Heart Fragments you left behind.
The city’s dock stands on a platform above the water in the Justice District Sewers, and the Paris Streets map of the sewer wharf helps you find the way down. Use it to return to the streets, where the Morgue, the Seer’s Hovel, and the Prison Tower branch off. Holy Innocents’ Cemetery has a dock of its own, which saves the long walk back to Medusa’s side of the city.
Ferryman’s Wharf Locations in Dracula’s Castle
Dracula’s Castle has three docks. The Main Hall dock waits on the upper level of the Grand Hall, and the Main Hall map of the Grand Hall makes the climb easy to plan. The Clock Tower map of the Foundry Apex leads to the trickiest one, tucked under a stone block that punches down on a chain, so move in right after it rises.
The Library dock is the easiest to walk past. It’s in a hidden area behind a breakable wall in the bottom right of the Planetarium, so hit the wall to open the way. The Library map of the Planetarium and the guide to secret rooms and cracked walls help you pin down the spot.
Why Can’t I Fast Travel in Castlevania Belmont’s Curse?
If the Ferryman won’t take you somewhere, you haven’t reached that region’s dock yet. Explore until you find the wharf and the route opens. Every trip is free, but no dock works before Act One ends, because the Ferryman only joins after the Death fight.
For trips inside one region, the Hall of Mirrors is faster than a boat, and the Sub-Area list for every region helps you see which corners still hide something. If a dock turns up somewhere else on your save, share it with the team through the Belmont’s Curse Discord so it can be checked.
| Name | Map Location | Details | Found |
|---|---|---|---|
| Catacombs of Paris Ferryman's WharfCatacombs of ParisCatacombs of Paris Ferryman's Wharf | Catacombs of Paris | Catacombs of Paris Ferryman's Wharf is found up some stairs in the top right part of the Collapsed Path of Orpheus Sub-Area. | |
| Paris Streets Ferryman's WharfParis StreetsParis Streets Ferryman's Wharf | Paris Streets | The Paris Streets Ferryman's Wharf is found on the platform above the water in the Justice District Sewers Sub-Area. | |
| Holy Innocents' Cemetery Ferryman's WharfHoly Innocents' CemeteryHoly Innocents' Cemetery Ferryman's Wharf | Holy Innocents' Cemetery | The Holy Innocents' Cemetery Ferryman's Wharf is found in the bottom left part of the Roman Baths Sub-Area. | |
| Main Hall Ferryman's WharfMain HallMain Hall Ferryman's Wharf | Main Hall | Main Hall Ferryman's Wharf is found on the platform on the upper level of the Grand Hall Sub-Area. | |
| Library Ferryman's WharfLibraryLibrary Ferryman's Wharf | Library | The Library Ferryman's Wharf is found in the hidden area behind the breakable wall in the bottom right part of the Planetarium Sub-Area. | |
| Notre-Dame Ferryman's WharfNotre-DameNotre-Dame Ferryman's Wharf | Notre-Dame | The Notre-Dame Ferryman's Wharf is found on a ledge southeast of the Mirror of Life in the West Triforium Sub-Area. | |
| Clock Tower Ferryman's WharfClock TowerClock Tower Ferryman's Wharf | Clock Tower | The Clock Tower Ferryman's Wharf is found under a punch stone block moving on a chain in the Foundry Apex Sub-Area. |

© MapMaster.io 2024. All rights reserved.